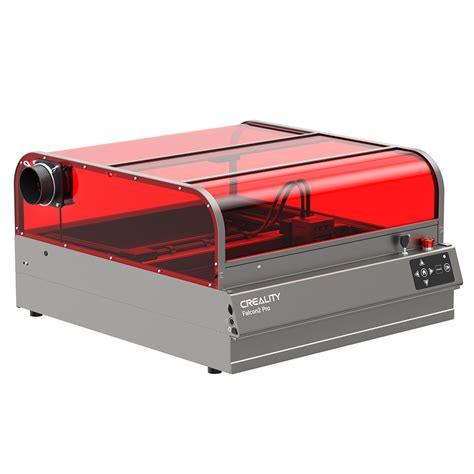
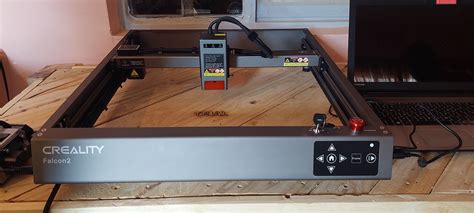
Troubleshooting the Creality Falcon 2 Pro 22W Laser Engraver: Why It Won't Frame
The Creality Falcon 2 Pro 22W Laser Engraver is a highly versatile and powerful tool capable of etching designs and patterns onto a wide range of materials. However, occasionally, users may encounter issues with the machine not framing properly. This article will comprehensively explore the potential causes and effective solutions to resolve this issue, ensuring your laser engraver operates at its optimal performance.
Understanding the Framing Process
Framing is a crucial step in the laser engraving process, where the laser determines the boundaries of the engraving area to ensure precision and alignment. It typically involves moving the laser head to the edges of the workpiece and establishing reference points.
Causes of Framing Failure
-
Incorrect Workspace Setup: Misalignment between the workpiece and the laser engraver can prevent proper framing. Ensure the workpiece is correctly positioned and secured on the engraving bed.
-
Sensor Malfunction: The laser engraver utilizes sensors to detect the edges of the workpiece. Malfunctioning sensors may lead to inaccurate framing.
-
Software Glitches: Software errors or outdated versions can interfere with framing functionality.
-
Mechanical Obstructions: Physical obstacles, such as loose wires or debris, can hinder the movement of the laser head during framing.
-
Laser Misalignment: Misalignment of the laser beam can result in inaccurate framing, causing the laser to engrave outside the intended area.
Troubleshooting Strategies
1. Verify Workspace Setup:
- Confirm that the workpiece is flat and level on the engraving bed.
- Adjust the bed height if necessary to ensure the laser head can reach the surface properly.
- Use a ruler or measuring tape to check the distance between the laser head and the edges of the workpiece.
2. Inspect Sensors:
- Clean the sensors with a soft cloth or brush to remove any debris or dust.
- Gently push the sensors to ensure they are making contact with the workpiece.
- If the sensors appear damaged or misaligned, contact Creality for assistance.
3. Update Software:
- Check for software updates from Creality's official website.
- Download and install the latest software version to eliminate potential software bugs.
- Reset the laser engraver to factory settings if the software update does not resolve the issue.
4. Clear Mechanical Obstructions:
- Inspect the workspace for any loose wires, debris, or other obstacles that could hinder the laser head's movement.
- Carefully remove any obstructions to ensure the laser head can move freely.
5. Adjust Laser Alignment:
- Follow Creality's official guide to adjust the laser alignment.
- Use a calibration card or a piece of scrap material to fine-tune the laser beam's focus and position.
- Ensure the laser head is perpendicular to the workpiece surface.
Tips and Tricks
-
Use Framing Assistants: Some laser engraving software offers framing assistants that automate the framing process and enhance accuracy.
-
Mark Reference Points Manually: If the sensors are malfunctioning, you can manually mark reference points using tape or a marker.
-
Double-Check Dimensions: Before starting the engraving process, double-check the dimensions of the design and the engraving area to prevent framing errors.
-
Calibrate Regularly: Regular calibration of the laser engraver ensures optimal framing and engraving performance.
-
Consult Creality Support: If you encounter persistent framing issues, contact Creality's technical support team for further assistance.
Why Framing Matters
Accurate framing is essential for successful laser engraving as it:
-
Ensures Alignment: Proper framing aligns the laser beam with the intended engraving area, preventing misalignment and wasted materials.
-
Optimizes Performance: Precise framing ensures the laser engraver operates at its optimal efficiency, minimizing engraving time and improving accuracy.
-
Reduces Errors: Accurate framing reduces the risk of engraving errors, such as overcutting or undercutting, resulting in high-quality results.
Benefits of Effective Framing
-
Time Savings: Efficient framing eliminates the need for manual adjustments and reduces overall engraving time.
-
Improved Accuracy: Precise framing ensures precise engravings, reducing material wastage and enhancing the overall quality of the finished product.
-
Increased Efficiency: Optimized framing allows for a seamless engraving process, increasing productivity and output.
-
Enhanced Results: Accurate framing contributes to superior engraving outcomes, reducing the need for rework or corrections.
-
Customer Satisfaction: Excellent framing results in high-quality engravings, enhancing customer satisfaction and fostering repeat business.
Tables
Table 1: Troubleshooting Framing Issues
| Issue |
Cause |
Solution |
| Framing Failure |
Incorrect Workspace Setup |
Verify alignment, secure workpiece |
| Framing Failure |
Sensor Malfunction |
Clean sensors, check contact |
| Framing Failure |
Software Glitches |
Update software, reset settings |
| Framing Failure |
Mechanical Obstruction |
Remove obstacles, ensure movement |
| Framing Failure |
Laser Misalignment |
Adjust alignment using calibration |
Table 2: Benefits of Effective Framing
| Benefit |
Description |
Impact |
| Time Savings |
Reduced engraving time |
Increased productivity |
| Improved Accuracy |
Precise engravings |
Reduced material wastage |
| Increased Efficiency |
Seamless engraving process |
Enhanced output |
| Enhanced Results |
Superior engraving outcomes |
Customer satisfaction |
| Reduced Rework |
Minimal need for corrections |
Reduced costs |
Table 3: Framing Strategies for Success
| Strategy |
Description |
Advantage |
| Framing Assistants |
Automated framing software |
Improved accuracy |
| Manual Reference Points |
Custom marking for framing |
Flexibility |
| Dimension Verification |
Double-checking dimensions |
Prevents framing errors |
| Regular Calibration |
Maintain optimal performance |
Accurate framing |
| Consulting Creality Support |
Expert assistance |
Troubleshooting complex issues |

